
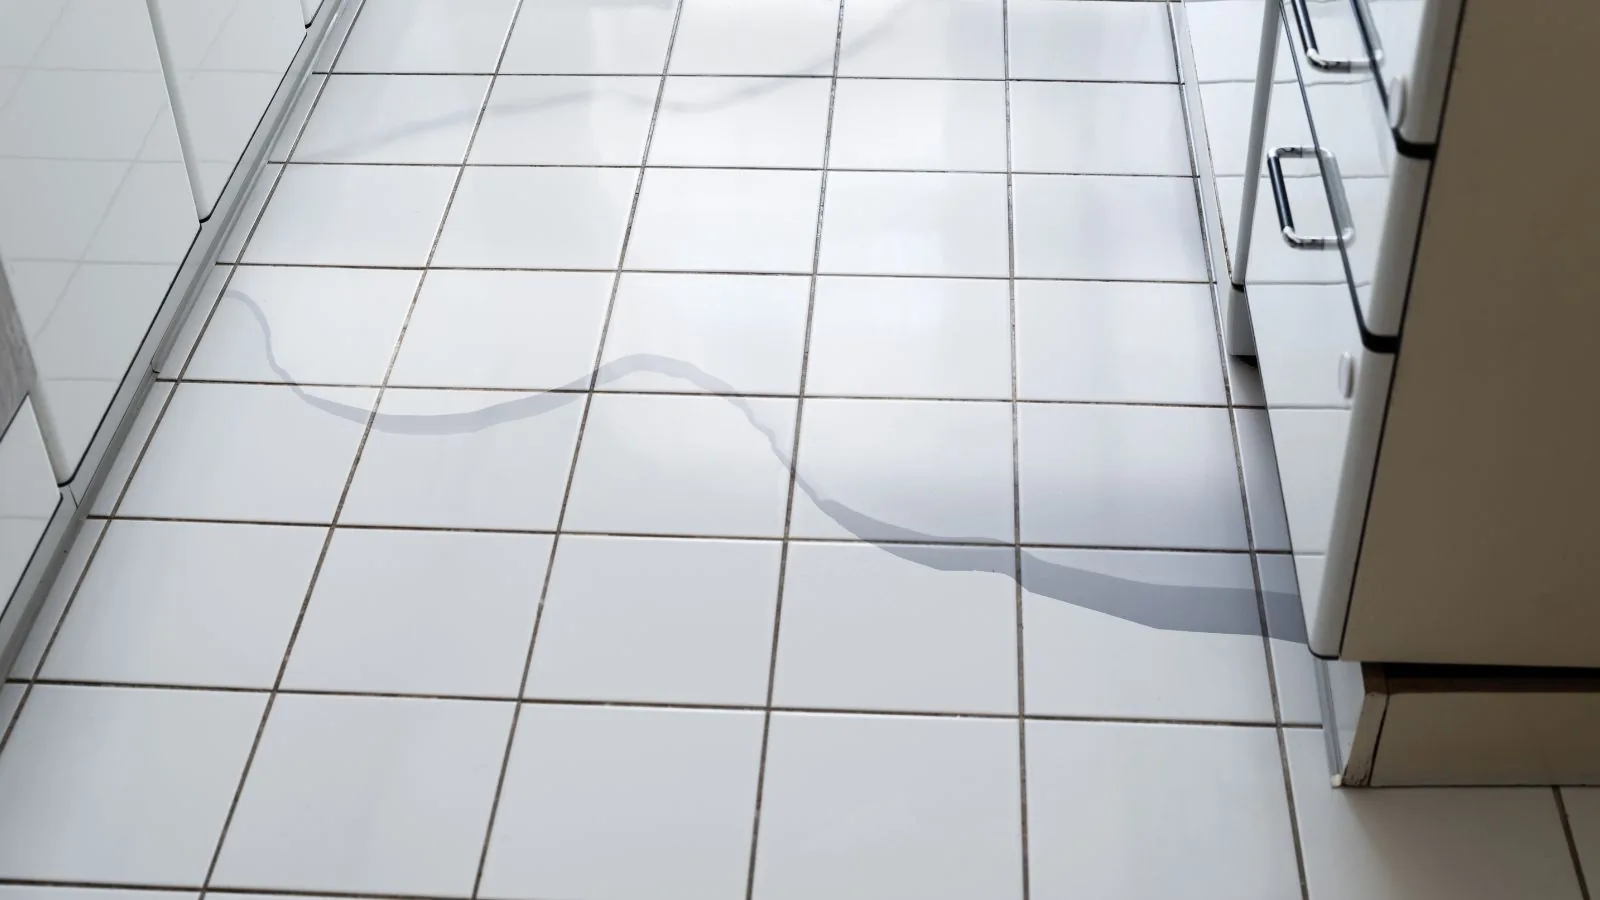
Kitchen water damage restoration is the drying and repair of cabinets, countertops, flooring and walls after water escapes from a sink, a supply line, a dishwasher hose or a drain. Kitchens pack a lot of plumbing into a small space, and much of it sits behind cabinet doors where leaks can run for weeks unseen.
This page covers the room: cabinets, the sink area and the finished surfaces around them. If the failed part was an appliance, the appliance leak page covers the machine and its connections. If a supply line burst inside the wall, see burst pipe cleanup.
Water under the sink and in the cabinets
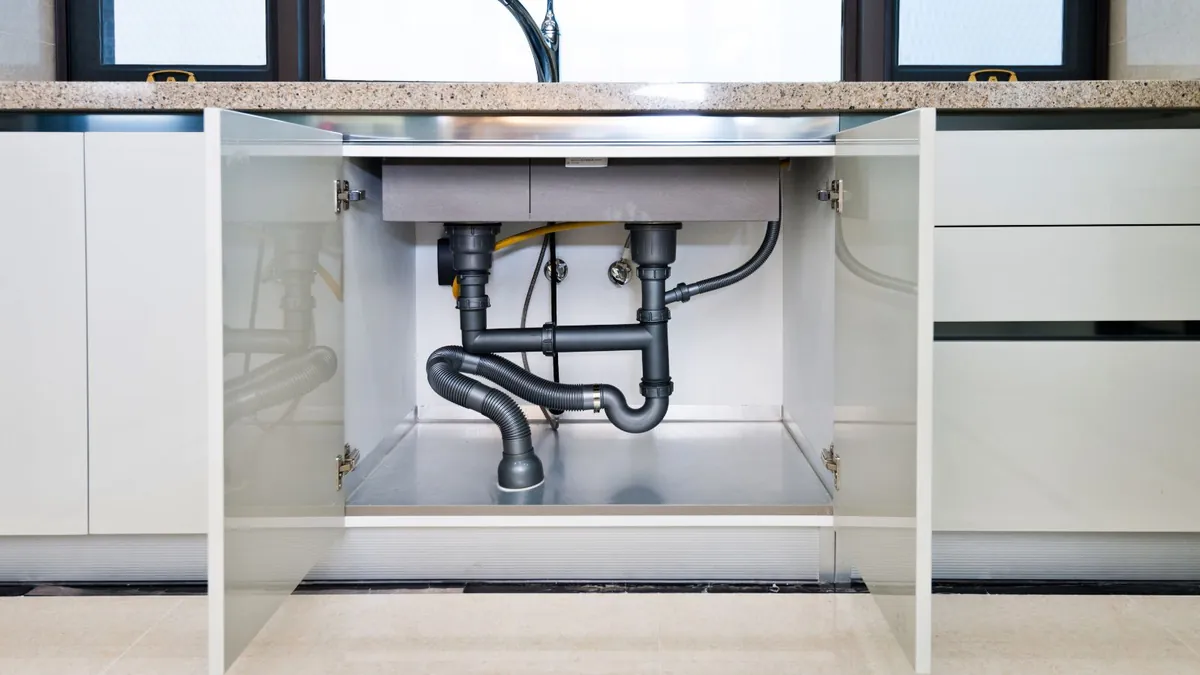
Under-sink leaks are the most common kitchen water problem and the easiest to miss. A slow drip from a drain trap or a loose supply connector can soak the cabinet floor and then move into the subfloor. Signs include swollen cabinet bottoms, a musty smell, peeling edges on the toe-kick and warped flooring near the base.
- Open the cabinet and look at the floor of the cabinet and the back wall for stains.
- Run water and watch the trap and shutoff valves for drips.
- Press the cabinet bottom with a finger. Soft or crumbling material is a sign of long exposure.
- Check the dishwasher and refrigerator lines at the back of the adjacent cabinets.
- Turn off the shutoff valve under the sink if you see a leak, then call.
What cabinets are made of matters
Cabinet boxes are made of solid wood, plywood or particleboard and medium-density fiberboard. Solid wood and plywood can often be dried and kept. Particleboard and fiberboard swell when soaked and rarely return to shape, so wet boxes and shelves are usually replaced. Face frames and doors made of solid wood are more forgiving.
The crew checks the material by opening a cabinet and pressing the base, then recommends a drying or replacement plan. Replacing one run of cabinets is very different from replacing an entire kitchen, and it is the main reason kitchen jobs vary in size.
How kitchen drying works
Cabinets dry from the inside, not by running a fan across the doors. Toe-kick panels are removed and small holes are drilled so dry air can move behind and under the boxes.
- Stop the source and photograph the cabinets, counters and floor.
- Extract any standing water and remove wet items from the cabinets.
- Remove toe-kicks and, if needed, the cabinet base to reach the subfloor.
- Dry the cabinet cavities and floor with injection drying, air movers and dehumidifiers.
- Take moisture readings of cabinets, walls and subfloor until they match dry references.
- Repair or replace affected cabinet parts, then finish flooring and trim.
Behind and below the cabinets, the process is the same as structural drying anywhere in the house.
Floors, walls and countertops around the sink
Water that leaves the cabinet moves toward the lowest point, which is usually the flooring. Vinyl and tile can hide wet subfloor under a clean surface, while wood and laminate swell. See hardwood floor repair for wood and laminate. Wall drywall behind a sink or dishwasher often wicks water upward, covered on the wall and drywall page.
Countertops are rarely damaged by water itself, but sinks and dishwashers may need to be disconnected so the work area can be reached.
Insurance and kitchen leaks
A sudden failure such as a burst supply connector is often covered, while a slow leak that went unrepaired often is not. Insurers also differ on how they treat cabinet replacement. Check your policy, ask your insurer how it handles matching, and keep photos from the start. The Tennessee Department of Commerce and Insurance recommends keeping notes of each call with your insurer.
Calls from ZIP 37075 and 37077 go to the same dispatch line, and the dispatcher can tell you what to photograph before anything is moved.
What to do before help arrives
- Close the shutoff valve under the sink or behind the appliance.
- Do not touch outlets, cords or appliances standing in water.
- Remove items from lower cabinets and lift them off the floor.
- Wipe standing water from counters and floors with towels.
- Photograph the cabinets, floor and the failed part.
Industry standard
ANSI/IICRC S500, the restoration standard, classifies water by category and by class. A sink or dishwasher supply leak is often clean water, while a drain backup is not, and the standard calls for different handling of each.
What affects the cost of kitchen water damage work
Kitchen restoration can be a day of drying or a full cabinet replacement. These factors do most of the work.
| Cost factor | Why it changes the job |
|---|---|
| Cabinet material | Particleboard is usually replaced, plywood and solid wood often dried. |
| How long the leak ran | A slow leak soaks deeper than a sudden burst caught quickly. |
| Number of cabinets | More runs mean more removal, drying and rebuild. |
| Flooring type | Tile, vinyl and wood floors each have different save limits. |
| Subfloor and wall moisture | Wet subfloor adds drying time. |
| Matching and finish | Replacing a few cabinets may require matching style and finish. |
Call and describe what happened. The dispatcher lays out the likely scope and the price drivers before anyone starts work.
Related guides
- Small Water Leak Insurance Claims in Hendersonville, TN
- Water Damage Restoration Cost in Hendersonville, TN
Questions about kitchen water damage in Hendersonville
Can water-damaged kitchen cabinets be saved?
Often, if they are plywood or solid wood and were dried quickly. Particleboard and fiberboard boxes usually swell and need replacing.
How do I know if water is still under the cabinets?
Moisture readings are the reliable way. Signs include a musty smell, warped toe-kicks and soft flooring near the cabinet base.
Do I need to move everything out of the cabinets?
Yes, for drying and inspection. The crew can help pack and protect items, and photographs help with the insurance file.
Will drying open up my kitchen?
Usually only small openings, such as toe-kick panels and a few drilled holes. Larger demolition is done only when materials cannot be dried.